Design Editor Overview
The Design Editor is IDEQO’s visual content creation tool. Create graphics, add text, images, shapes, and more. Everything you create can be saved and used in your social media posts, blog posts, or anywhere else you need visuals.
Getting Started
Section titled “Getting Started”Accessing the Design Editor
Section titled “Accessing the Design Editor”- Go to Content Hub and click New Content
- Select Design
- Or go directly to
/design-editor
You can also create a design from an idea:
- Open an idea
- Click Create Content
- Select Design
The Design Editor Interface
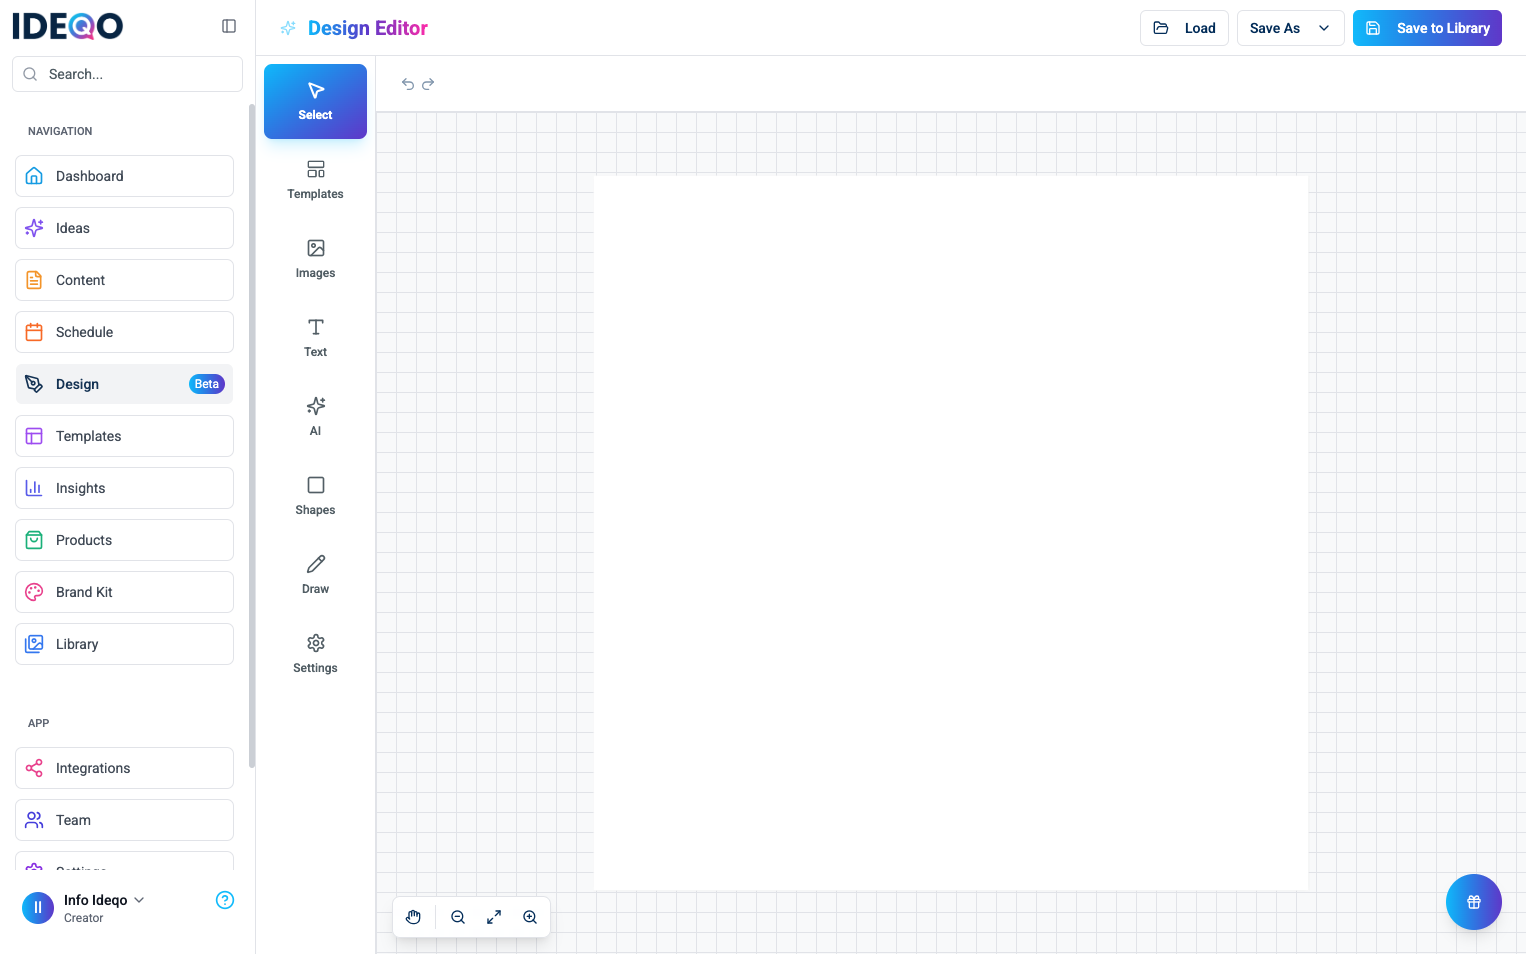
Section titled “The Design Editor Interface”The design editor has four main areas:
1. Header
Section titled “1. Header”The header at the top shows:
- Design Editor title
- Load button - Open previously saved designs
- Save As dropdown - Export as PNG, JPEG, SVG, or save as template
- Save to Library button - Save your design to your media library
2. Left Sidebar (Tools)
Section titled “2. Left Sidebar (Tools)”The left sidebar contains all your tools:
- Select - Select and move objects
- Templates - Browse and use design templates
- Images - Upload images or search stock photos
- Text - Add text boxes, headings, and paragraphs
- AI - AI image generation (coming soon)
- Shapes - Add circles, rectangles, triangles, and more
- Draw - Freehand drawing tool
- Settings - Change canvas size and background color
Click any tool to activate it. The active tool highlights in blue.
3. Canvas Workspace
Section titled “3. Canvas Workspace”The canvas is where you create your design. It has:
- A grid background to help you align objects
- Default size of 1080 × 1080 pixels (perfect for Instagram posts)
- Zoom controls at the bottom left (Hand Tool, Zoom Out, Fit to Screen, Zoom In)
- Undo/Redo buttons at the top of the canvas
You can:
- Click and drag to move objects
- Click objects to select them
- Drag corners to resize
- Use the rotate handle to rotate objects
4. Right Sidebar (Tool Panel)
Section titled “4. Right Sidebar (Tool Panel)”The right sidebar appears when you select a tool. It changes based on which tool you’re using:
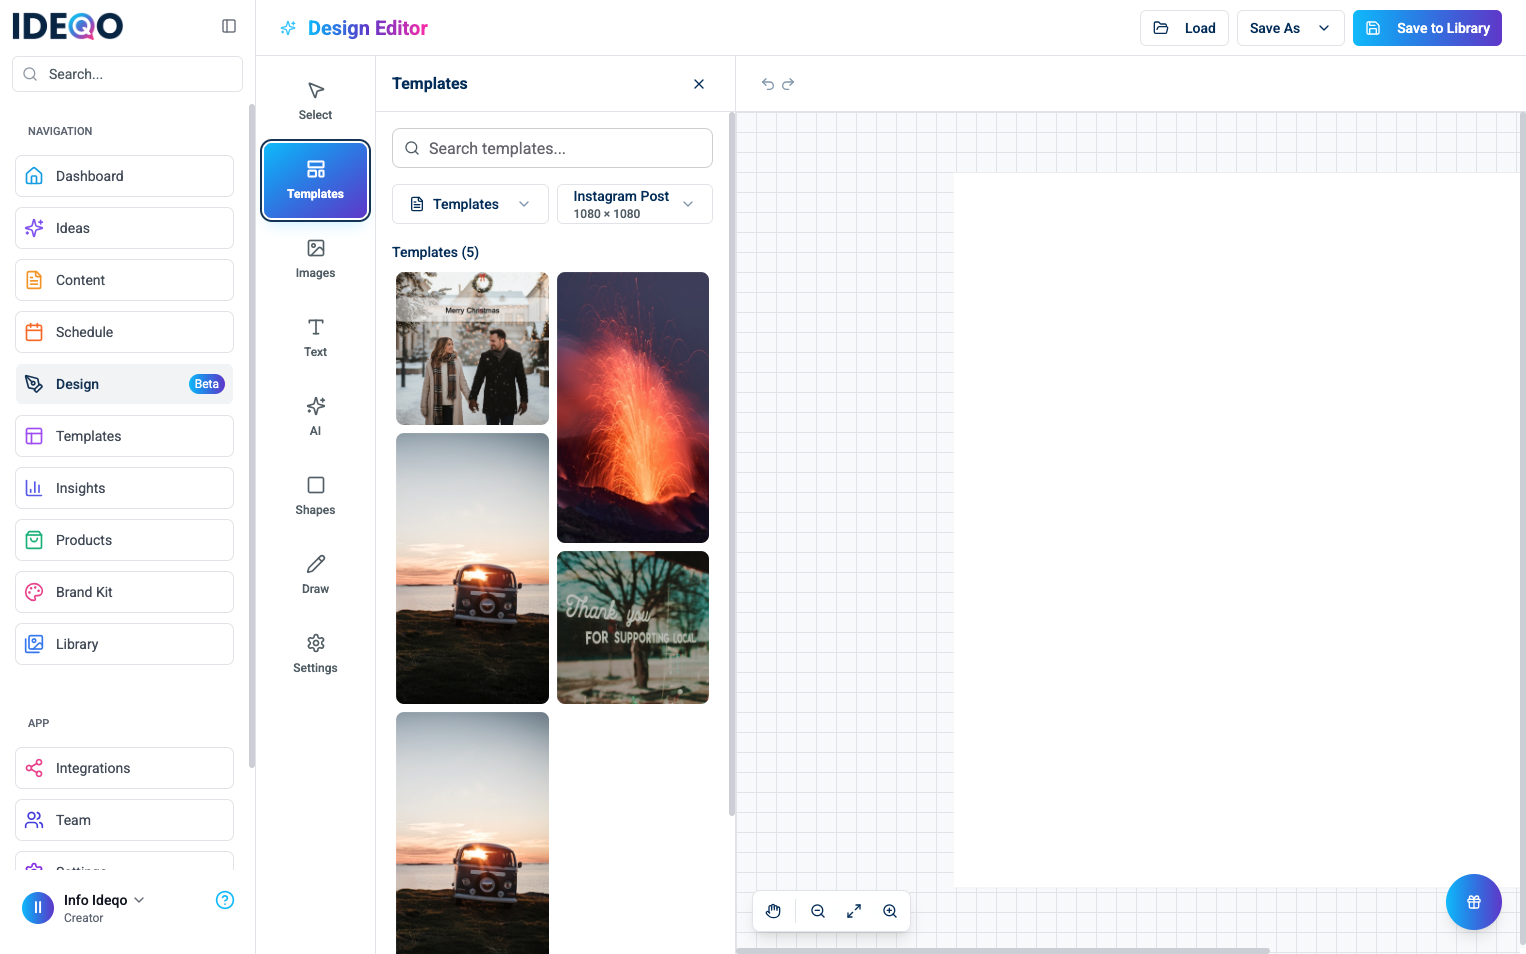
- When Templates is selected, you’ll see template categories, search, and template previews
- When Text is selected, you’ll see font options, size, alignment, and style
- When Images is selected, you’ll see upload options and stock photo search
- When Shapes is selected, you’ll see shape options
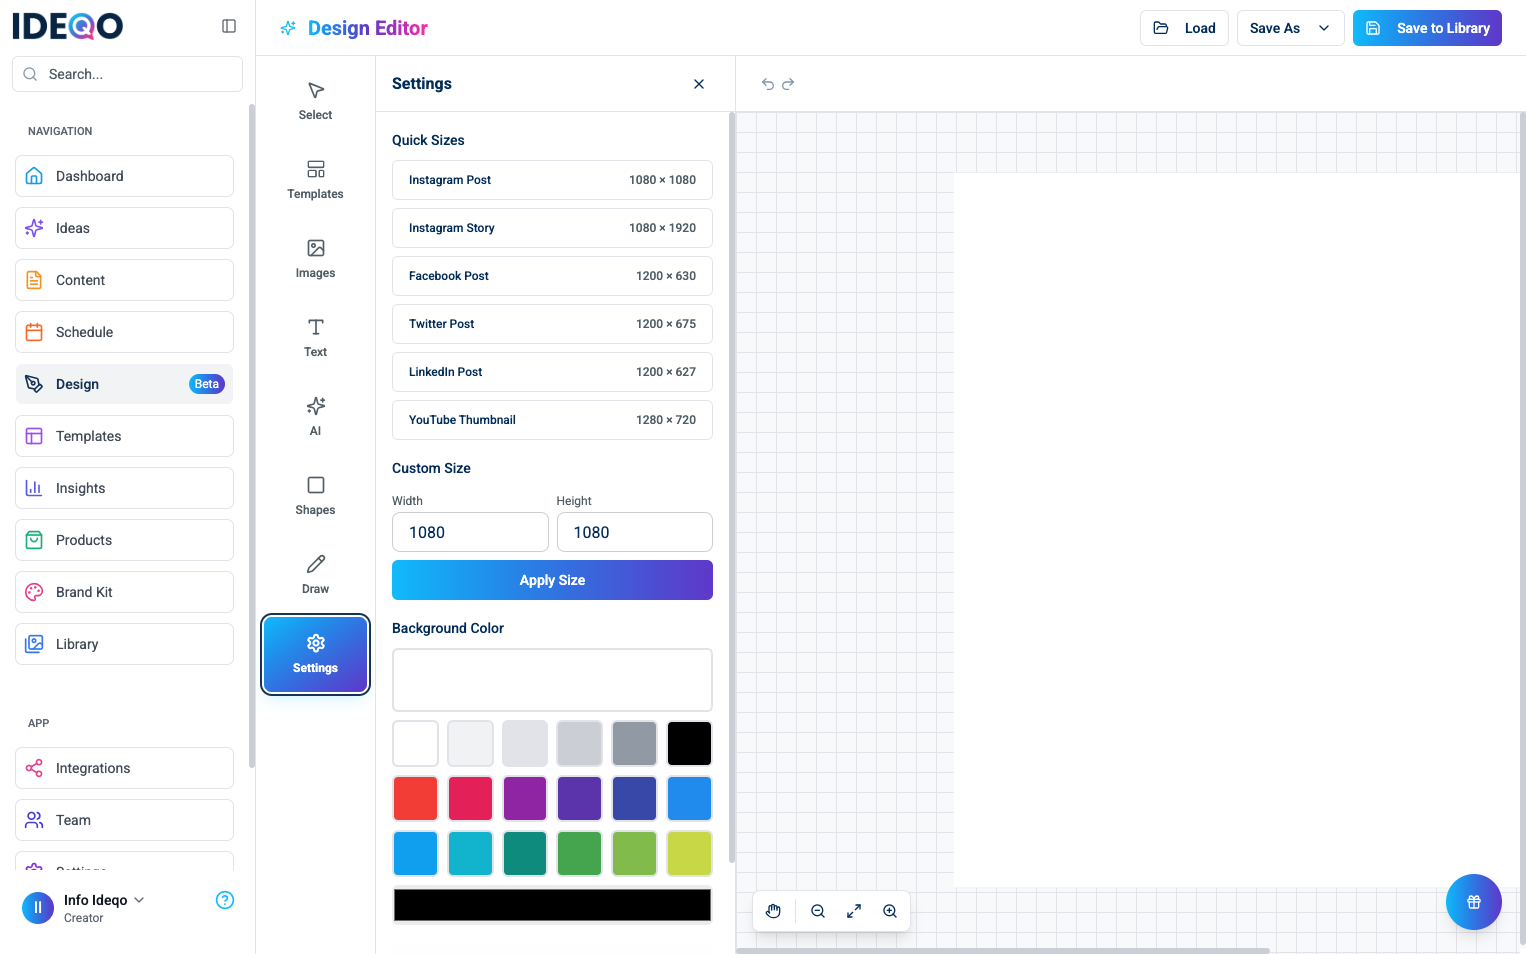
- When Settings is selected, you’ll see canvas size presets and background color options
- When an object is selected, you’ll see properties like fill color, stroke, opacity, and filters
Basic Navigation
Section titled “Basic Navigation”Zooming
Section titled “Zooming”Use the zoom controls at the bottom left of the canvas:
- Zoom Out (-) - Zoom out to see more of your design
- Fit to Screen - Automatically zoom to fit your canvas on screen (also
Ctrl+0/Cmd+0) - Zoom In (+) - Zoom in for detailed work
You can also:
- Use your mouse wheel to zoom in and out
- Use pinch gestures on trackpads
Panning (Moving the Canvas)
Section titled “Panning (Moving the Canvas)”- Click the Hand Tool icon at the bottom left (or press
H) - Click and drag on the canvas to move it around
- Click Select tool to go back to normal editing
Selecting Objects
Section titled “Selecting Objects”- Click an object to select it
- Click and drag to select multiple objects
- Click empty space to deselect everything
- Selected objects show handles (corners and edges) you can drag to resize
Canvas Size
Section titled “Canvas Size”The default canvas size is 1080 × 1080 pixels, which works great for Instagram posts. You can change the canvas size:
- Click Settings in the left sidebar
- Choose a preset size from Quick Sizes:
- Instagram Post (1080 × 1080)
- Instagram Story (1080 × 1920)
- Facebook Post (1200 × 630)
- Twitter Post (1200 × 675)
- LinkedIn Post (1200 × 627)
- YouTube Thumbnail (1280 × 720)
- Or enter custom dimensions in the Width and Height fields
- Click Apply Size
Starting Your First Design
Section titled “Starting Your First Design”Option 1: Start from a Template
Section titled “Option 1: Start from a Template”- Click Templates in the left sidebar
- Browse templates by category or search for specific templates
- Use the size dropdown to filter templates by canvas size (Instagram Post, Story, etc.)
- Click a template to load it onto your canvas
- Customize it with your own text, images, and colors
Option 2: Start from a Blank Canvas
Section titled “Option 2: Start from a Blank Canvas”- Click Settings in the left sidebar
- Choose a preset size from Quick Sizes or enter custom dimensions
- Optionally change the background color
- Click Apply Size
- Start adding elements (text, images, shapes)
Quick Tips
Section titled “Quick Tips”- Double-click text to edit it directly
- Use keyboard shortcuts to work faster (see Design Editor Keyboard Shortcuts)
- Save often - Click “Save to Library” to save your work
- Undo/Redo - Use
Ctrl+Z/Cmd+Zto undo andCtrl+Y/Cmd+Yto redo, or click the buttons at the top of the canvas - Select multiple objects - Hold
Shiftand click objects, or drag to select multiple - Pan the canvas - Click the Hand Tool at the bottom left (or press
H), then drag to move the canvas - Zoom quickly - Use your mouse wheel or pinch gestures on trackpads
What’s Next?
Section titled “What’s Next?”Now that you understand the basics, explore each tool:
- Templates - Browse and use design templates
- AI - Generate custom images with AI
- Images - Upload images or search stock photos
- Text - Add and format text
- Shapes - Add geometric shapes
- Draw - Freehand drawing tool
- Settings - Configure canvas size and background
Or learn about general workflows:
- Design Editor Overview - Selecting, moving, and resizing elements
- Saving & Exporting - Saving designs and exporting in different formats
- Design Editor Keyboard Shortcuts - Speed up your workflow
Need help? Contact support or check out our other design editor guides.