Design Editor: Text & Typography
Add text to your designs with customizable fonts, sizes, styles, and alignment. Create headings, paragraphs, and text boxes to communicate your message.
Accessing Text Tools
Section titled “Accessing Text Tools”- Click Text in the left sidebar
- The Text panel opens
- Choose a text type to add, or format selected text
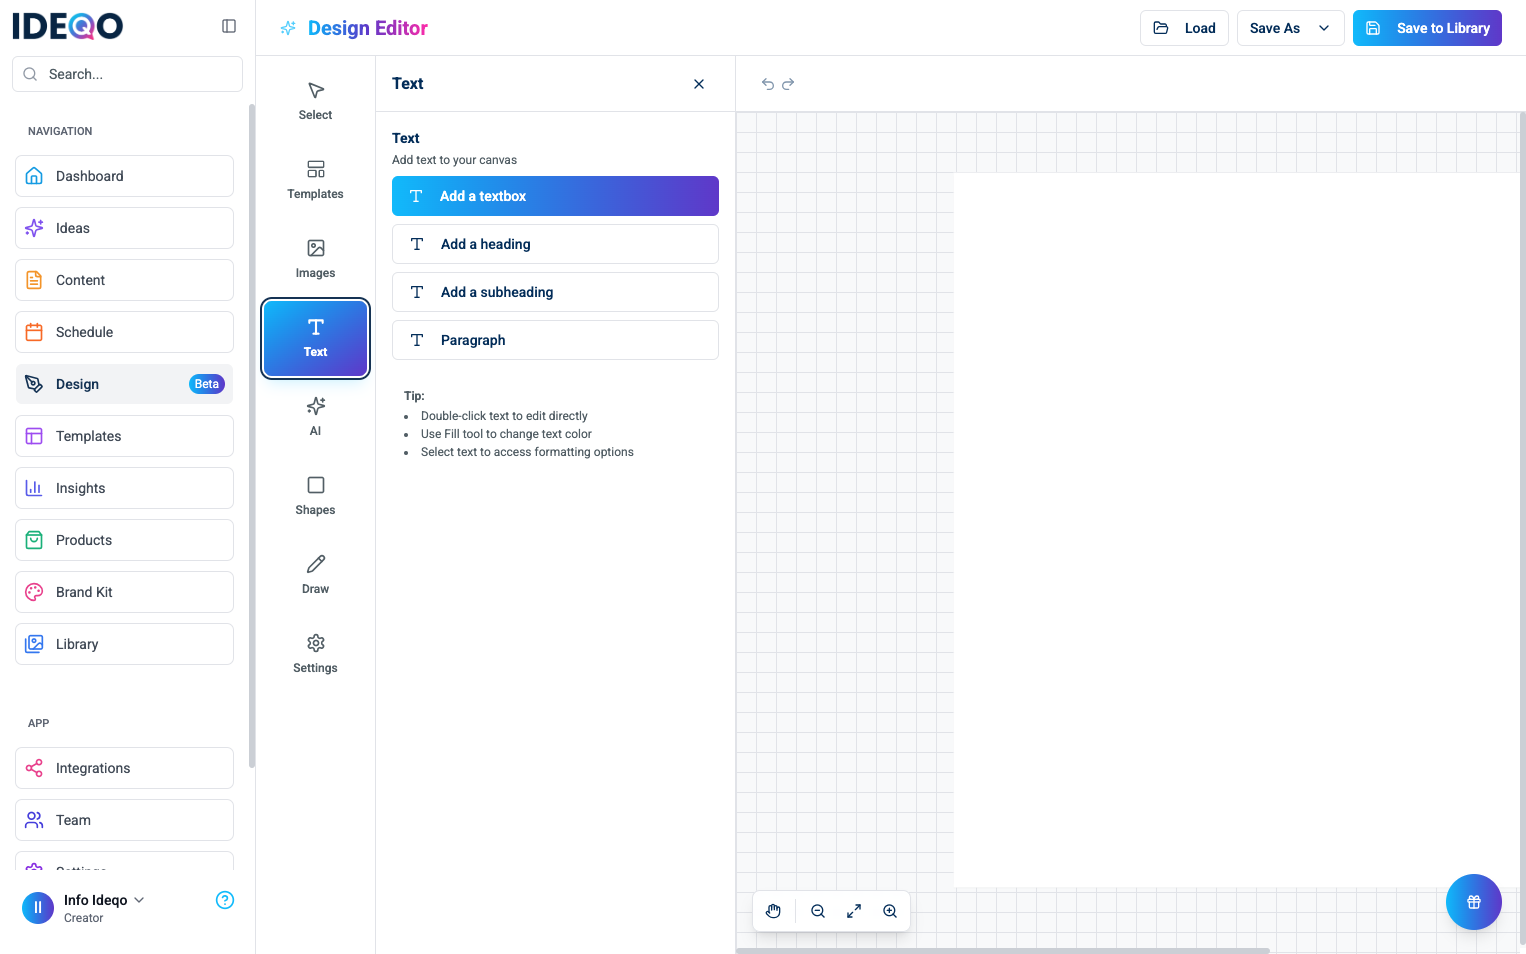
Adding Text
Section titled “Adding Text”The Text panel offers several text types:
Add a Textbox
Section titled “Add a Textbox”A standard text box for general text:
- Click Add a textbox
- A text box appears on your canvas with “Add your text here”
- Double-click to edit the text
Add a Heading
Section titled “Add a Heading”A large, bold heading for titles:
- Click Add a heading
- A heading appears with “Add a heading”
- Double-click to edit
Add a Subheading
Section titled “Add a Subheading”A medium-sized heading for subtitles:
- Click Add a subheading
- A subheading appears with “Add a subheading”
- Double-click to edit
Add a Paragraph
Section titled “Add a Paragraph”A text box formatted for longer text:
- Click Add a paragraph
- A paragraph text box appears
- Double-click to edit
Editing Text
Section titled “Editing Text”Direct Editing
Section titled “Direct Editing”- Double-click any text element to edit it directly
- Type your new text
- Click outside the text box or press Esc to finish editing
Selecting Text
Section titled “Selecting Text”- Click a text element to select it
- Click and drag to select multiple text elements
- Selected text shows handles for resizing
Formatting Text
Section titled “Formatting Text”When text is selected, format it using the Text panel:
Font Family
Section titled “Font Family”Choose from available fonts:
- Select your text
- Use the Font dropdown in the Text panel
- Select a font family
- The change applies immediately
Font Size
Section titled “Font Size”Adjust text size:
- Select your text
- Use the Size slider or +/- buttons
- Drag the slider or click the buttons to adjust
- Size is shown in pixels (px)
Text Alignment
Section titled “Text Alignment”Align text within its text box:
- Left - Align text to the left
- Center - Center text horizontally
- Right - Align text to the right
- Select your text
- Click an alignment button (Left, Center, Right)
- Alignment applies to the entire text box
Text Styles
Section titled “Text Styles”Apply text styles:
- Bold - Make text thicker and more prominent
- Italic - Slant text for emphasis
- Underline - Add a line under text
- Strikethrough - Add a line through text
- Select your text
- Click a style button to toggle it on/off
- Multiple styles can be active at once
Changing Text Color
Section titled “Changing Text Color”Text color is controlled by the Fill tool:
- Select your text
- Click Fill in the top toolbar
- Choose a color from the color picker
- The text color updates immediately
Resizing Text Boxes
Section titled “Resizing Text Boxes”Resize text boxes like other elements:
- Select the text box
- Drag corner handles to resize
- Text reflows automatically within the box
- Hold Shift while dragging to maintain aspect ratio
Moving Text
Section titled “Moving Text”- Click and drag the text box to move it
- Use arrow keys for precise positioning
- Align with other elements using the grid
Rotating Text
Section titled “Rotating Text”- Select the text box
- Hover over the rotate handle (above the text box)
- Click and drag to rotate
- Hold Shift while rotating for 15-degree increments
Best Practices
Section titled “Best Practices”- Choose Readable Fonts - Use clear, legible fonts for body text
- Limit Font Variety - Use 2-3 fonts maximum per design
- Size Hierarchy - Use different sizes to create visual hierarchy
- Contrast - Ensure text contrasts well with backgrounds
- Keep It Concise - Short, clear messages work best
- Use Headings - Break up content with headings and subheadings
- White Space - Leave enough space around text for readability
- Alignment - Align text consistently throughout your design
- Double-Click to Edit - Quickest way to edit text content
- Use Keyboard Shortcuts -
Ctrl+Bfor bold,Ctrl+Ifor italic (when editing) - Copy Formatting - Select formatted text, then add new text to match style
- Preview Sizes - Test different font sizes to find the best fit
- Layer Text - Stack text elements with different opacities for effects
Troubleshooting
Section titled “Troubleshooting”Text Won’t Edit
Section titled “Text Won’t Edit”- Make sure you’re double-clicking the text box
- Check that the text box is selected (shows handles)
- Try clicking outside and selecting again
Text Too Small/Large
Section titled “Text Too Small/Large”- Use the Size slider in the Text panel
- Check your canvas zoom level (may affect appearance)
- Ensure you’re using appropriate font sizes for your canvas
Font Not Available
Section titled “Font Not Available”- Available fonts are limited to the selection in the dropdown
- Use web-safe fonts for best compatibility
- Custom fonts may not be available
Text Overflow
Section titled “Text Overflow”- Resize the text box to fit your content
- Reduce font size if needed
- Break text into multiple text boxes
What’s Next?
Section titled “What’s Next?”- Learn about Styling & Effects - Change text colors and apply effects
- Learn about Shapes - Add geometric shapes to your designs
- Learn about Saving & Exporting - Save and export your designs
Need help? Contact support or check out our other design editor guides.