Design Editor: Shapes & Geometric Elements
Add geometric shapes to your designs to create visual interest, backgrounds, and design elements. Shapes customize with colors, strokes, and effects.
Accessing Shapes
Section titled “Accessing Shapes”- Click Shapes in the left sidebar
- The Shapes panel opens next to the sidebar
- Click a shape to add it to your canvas
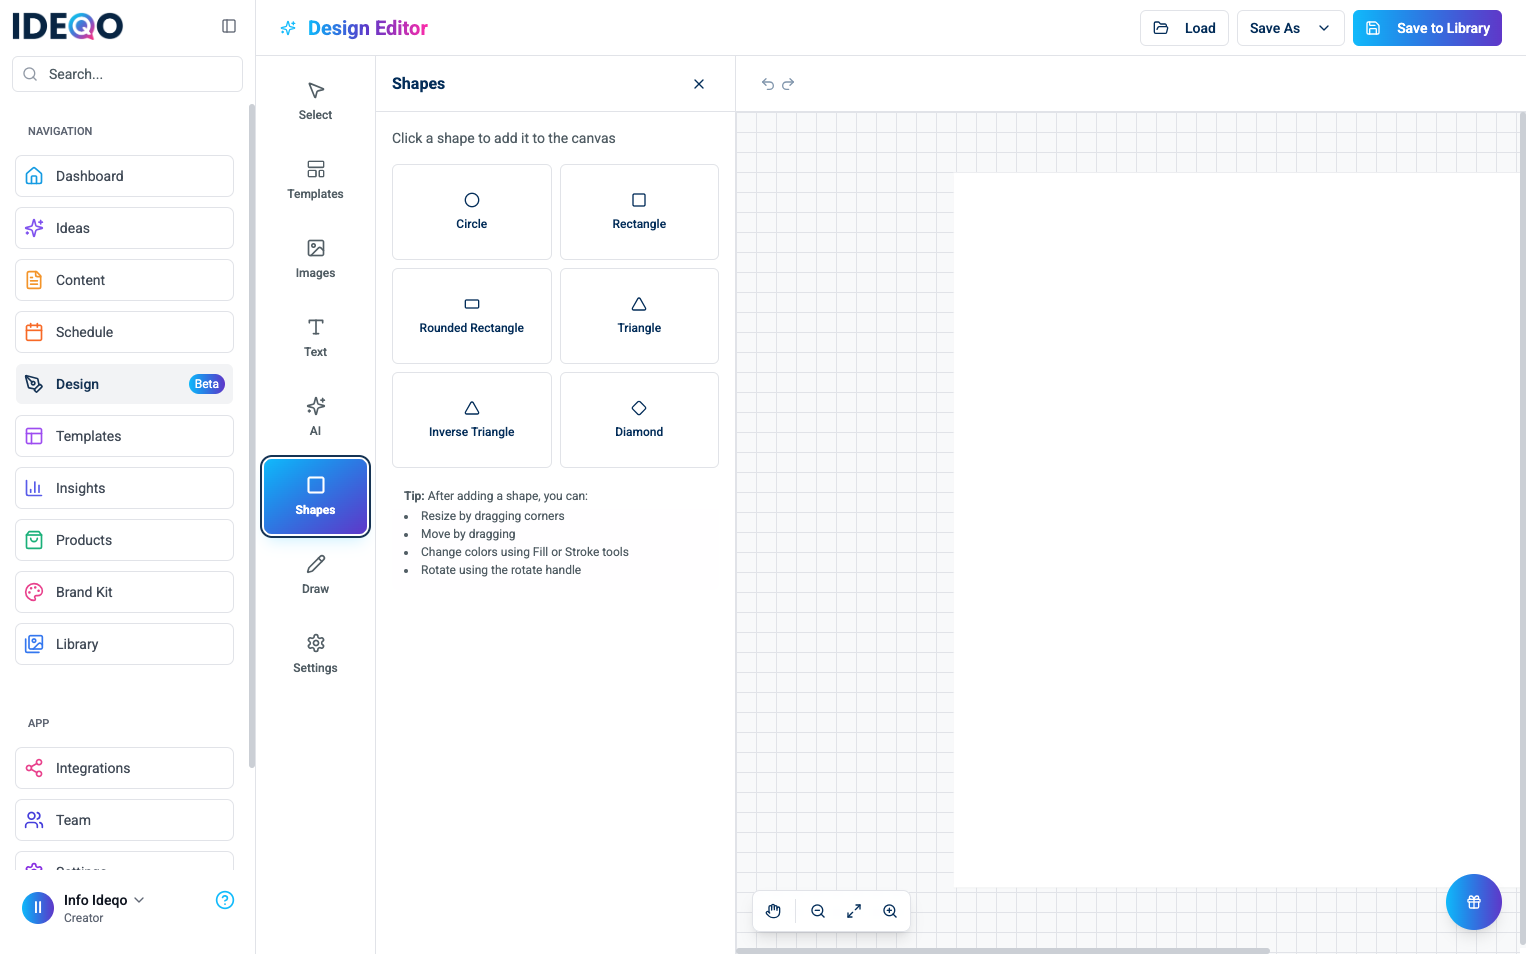
Available Shapes
Section titled “Available Shapes”Click any shape in the Shapes panel to add it:
- Circle - Perfect circles
- Rectangle - Squares and rectangles
- Rounded Rectangle - Rectangles with rounded corners
- Triangle - Standard triangle pointing up
- Inverse Triangle - Triangle pointing down (useful for arrows)
- Diamond - Diamond or rhombus shape
Customizing Shapes
Section titled “Customizing Shapes”After adding a shape, customize it using the toolbar at the top of the canvas:
Changing Fill Color
Section titled “Changing Fill Color”- Select the shape on the canvas
- Click Fill (Paintbrush icon) in the top toolbar
- Choose a color from the color picker panel
- The shape’s fill color updates
Adding Stroke (Border)
Section titled “Adding Stroke (Border)”- Select the shape
- Click Stroke (Palette icon) in the top toolbar
- Choose a stroke color
- Adjust stroke width using the slider
- Set width to 0 to remove the stroke
Adjusting Opacity
Section titled “Adjusting Opacity”- Select the shape
- Click Opacity (Circle icon) in the top toolbar
- Use the slider to adjust transparency
- 0% = fully transparent, 100% = fully opaque
Resizing Shapes
Section titled “Resizing Shapes”- Select the shape
- Drag corner handles to resize
- Hold Shift while dragging to maintain aspect ratio
- Use edge handles to resize width or height only
Moving Shapes
Section titled “Moving Shapes”- Click and drag the shape to move it
- Use arrow keys for precise positioning
- Align with other elements using the grid
Rotating Shapes
Section titled “Rotating Shapes”- Select the shape
- Hover over the rotate handle (above the shape)
- Click and drag to rotate
- Hold Shift while rotating for 15-degree increments
Shape Use Cases
Section titled “Shape Use Cases”- Backgrounds - Use large shapes as background elements with low opacity
- Frames and Borders - Use rectangles as frames for images, add strokes for borders
- Icons and Indicators - Use circles and diamonds as bullet points, create arrows with triangles
- Decorative Elements - Add shapes for visual interest, combine shapes to create patterns
Best Practices
Section titled “Best Practices”- Match Brand Colors - Use your brand colors for consistency
- Contrast - Ensure shapes contrast with backgrounds
- Opacity - Use transparency for layered effects
- Stroke - Add strokes for definition and emphasis
- Proportion - Size shapes appropriately for your design
- Alignment - Align shapes with other elements
- Spacing - Leave adequate space around shapes
- Balance - Distribute shapes evenly for visual balance
- Layer Shapes - Stack shapes with different opacities for depth
- Combine Shapes - Use multiple shapes to create complex designs
- Use as Masks - Place shapes over images for framing effects
- Create Patterns - Repeat shapes to create patterns
- Experiment - Try different combinations and styles
Troubleshooting
Section titled “Troubleshooting”Shape Won’t Resize
Section titled “Shape Won’t Resize”- Make sure the shape is selected (shows handles)
- Try clicking outside and selecting again
- Check that you’re dragging the corner handles
Can’t Change Color
Section titled “Can’t Change Color”- Select the shape first
- Look for the Fill tool in the top toolbar
- Check that the shape is not locked
Shape Disappears
Section titled “Shape Disappears”- Check the opacity setting (may be set to 0%)
- Verify the shape isn’t behind another element
- Check layer order using Bring Forward/Send Backward
Stroke Not Visible
Section titled “Stroke Not Visible”- Increase the stroke width in the Stroke settings
- Ensure stroke color contrasts with fill color