Publishing Queue and Scheduled Posting Slots
The Queue is your central view of all scheduled content waiting to be published, while Slots (Publishing Schedules) allow you to define recurring times for automated posting. Together, they ensure your content is delivered consistently without manual intervention for every post.
Managing Your Content Queue
Section titled “Managing Your Content Queue”Your Content Queue displays all posts that are scheduled for the future. You can monitor their status, make last-minute changes, or cancel them if needed.
Viewing the Queue
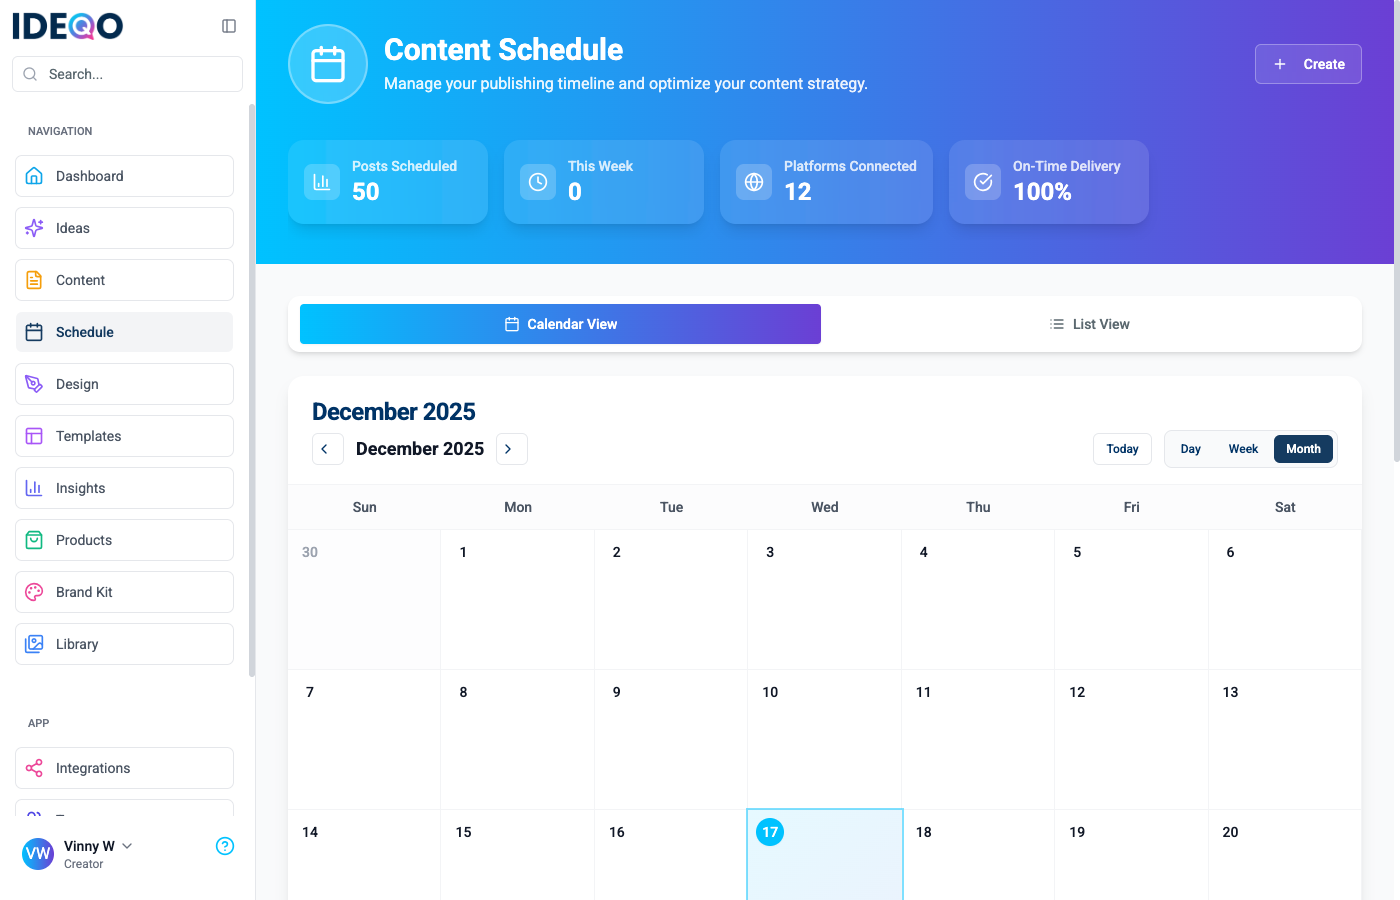
Section titled “Viewing the Queue”- Navigate to Plan & Schedule > Calendar (or
/scheduling). - Switch between Calendar View and List View using the tabs at the top.
- Calendar View: Visualizes your posts on a monthly, weekly, or daily grid. Great for seeing gaps in your schedule.
- List View: detailed list of all scheduled items, allowing for bulk actions and easy filtering.
Cancelling Scheduled Posts
Section titled “Cancelling Scheduled Posts”If you need to stop a post from going out:
Single Post:
- In Calendar View, click on the post to open the preview, then click Cancel Schedule.
- In List View, click the Cancel button next to the post.
Bulk Cancellation:
- Switch to List View.
- Select multiple posts using the checkboxes.
- Click the Cancel Selected button that appears in the bulk actions bar.
Setting Up Publishing Slots
Section titled “Setting Up Publishing Slots”Publishing Slots (also called Schedules) help you automate consistency by defining exactly when content should be posted for each platform. Instead of picking a time for every single post, you can let the system use your predefined slots.
Creating a Schedule
Section titled “Creating a Schedule”Schedules are managed individually for each integration to respect platform-specific best times.
- Go to Connections (or
/integrations). - Click Manage on the platform you want to configure (e.g., Instagram, LinkedIn).
- Navigate to the Schedule tab.
- Click Add Schedule or Create Your First Schedule.
Schedule Types
Section titled “Schedule Types”You can configure different types of recurring slots:
- Daily: Posts at the same time every day (e.g., 9:00 AM).
- Weekdays: Posts Monday through Friday at a specific time.
- Weekends: Posts Saturday and Sunday at a specific time.
- Custom: Use a CRON expression for advanced schedules (e.g., specific days of the week).
Managing Slots
Section titled “Managing Slots”- Edit: Click the Edit (pencil) icon to change the time or type of a schedule.
- Toggle: Use the Power button to temporarily pause a schedule without deleting it.
- Delete: Remove a schedule permanently if it’s no longer needed.